
I am sharing one of my treasured recipes today. For the longest time I hated making chocolate chip cookies because I felt like they never turned out how I wanted them to be… I would use the recipe on the chocolate chip package or look up one on the internet and they always spread out WAY too much and were crispy and fell apart.
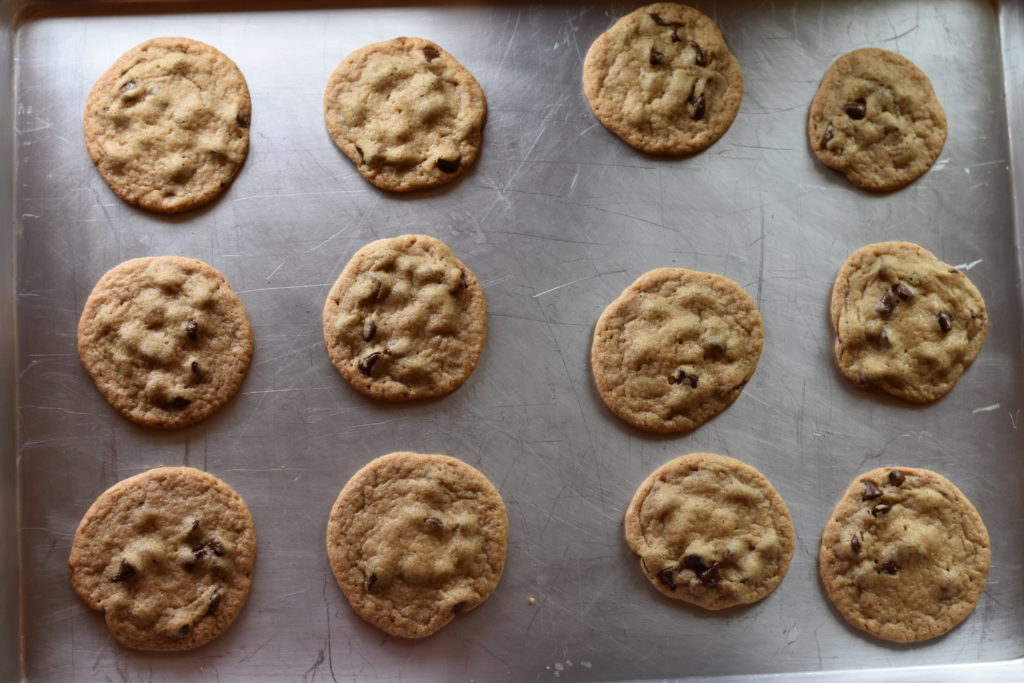
BUT no more! The day I found this chocolate chip cookie recipe I never went back. This is my go-to recipe, that my husband and my kids love, and it turns out great every time – chewy but not cakey – just how I like my chocolate chip cookies!
The other plus about this recipe is it freezes incredibly well. Instead of baking the whole batch on the same day you make the dough (who has the patience for that anyways??) just roll the dough into balls, throw them in the freezer, and pull out however many you need WHEN you want them. So instead of swimming in dozens of chocolate chip cookies for one day, and feeling SICK from indulging in just a few too many – save them for a date night with the hubby or for a fresh-from-the-oven after school snack for the kids. YES! It’s a winner!
Let’s talk about the kitchen tasks kids can help with while making these cookies. I hope you’ll indulge me. We had WAY too much fun making these cookies and I LOVE these pictures. Such sweet memories made while we are baking/making messes together!
DUMP & MIX IN THE DRY INGREDIENTS


My little 2 year old LOVES feeling the ingredients. She is such a hands-on sensory girl. No matter what we are making she sticks her hands in and loves to feel the textures. Needs her hands washed about 10x during every recipe!
DUMP & MIX THE WET INGREDIENTS


There she goes again!! Feeling the batter. So much to touch and explore.
POURING IN THE CHOCOLATE CHIPS… and TASTING A FEW HERE AND THERE


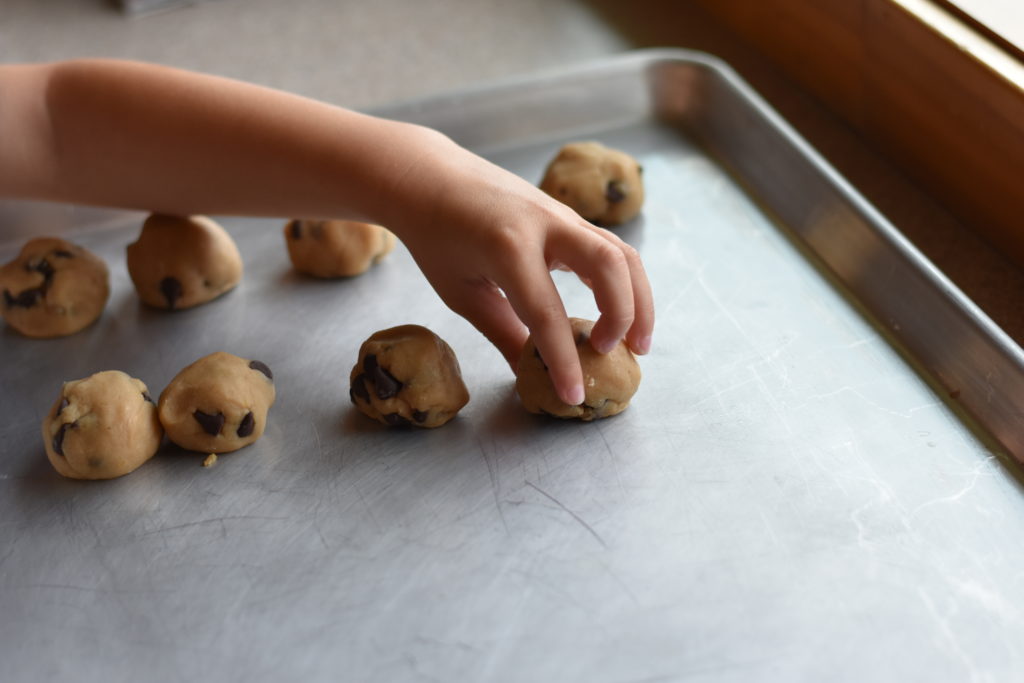
FORMING DOUGH BALLS


Can you guess which ones were made by little miss two??
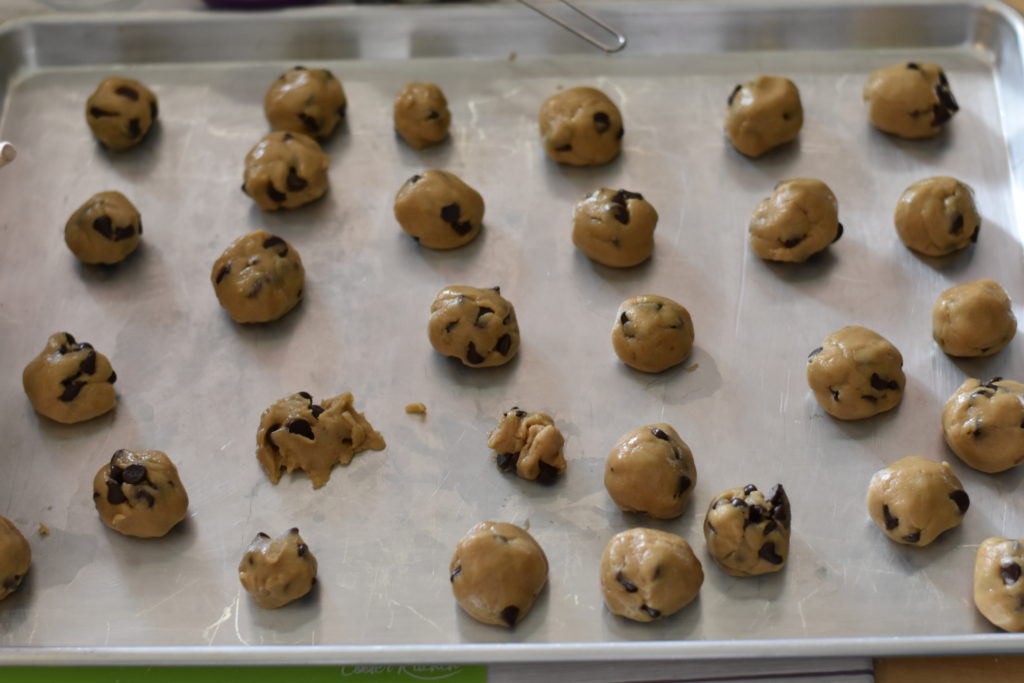
By the way at this point in the recipe you can chose to bake your cookies, OR freeze these little dough balls to bake later. We froze all of these and pulled them out to freeze the next day. To freeze I just put this cookie sheet in the freezer, get it out an hour later and scrape them off with a spatula, tossing them into a freezer bag ziploc.
PLACING FROZEN BALLS ONTO THE COOKIE SHEET


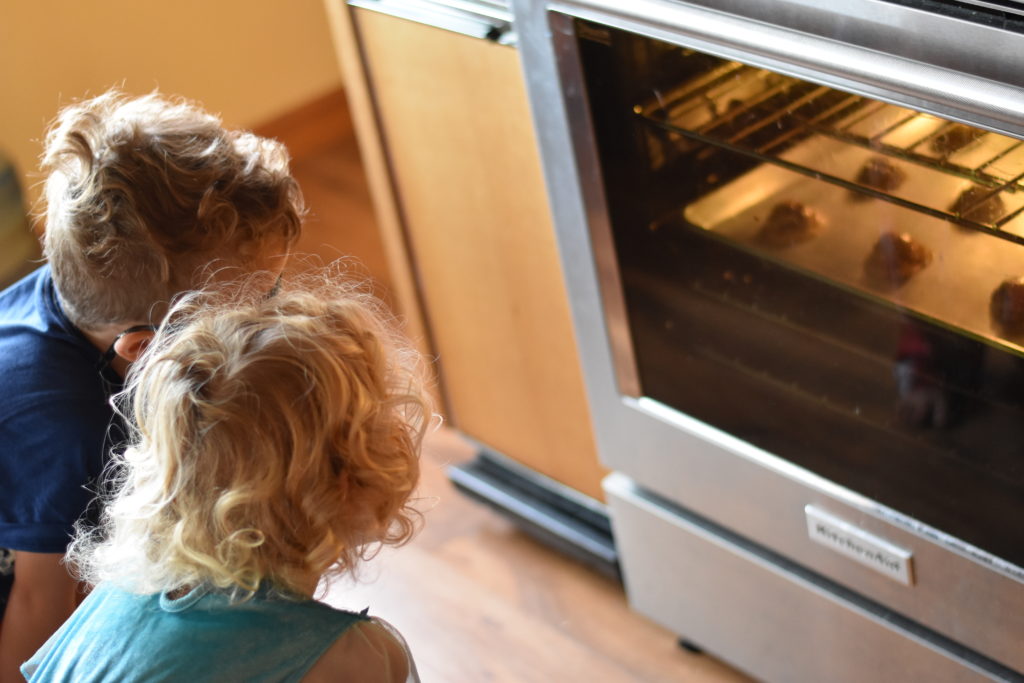
By the way did I tell you the kids were MORE THAN HAPPY to help bake these cookies?? The promise of a cookie reward at the end for being a helper was just too delicious to resist!
WATCHING THEM BAKE
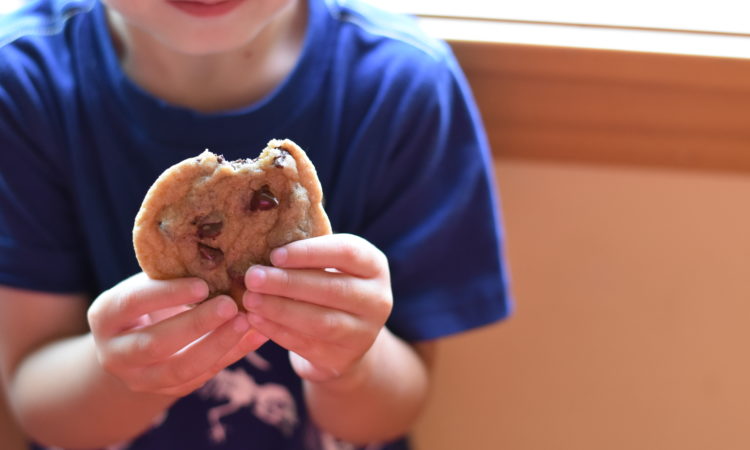
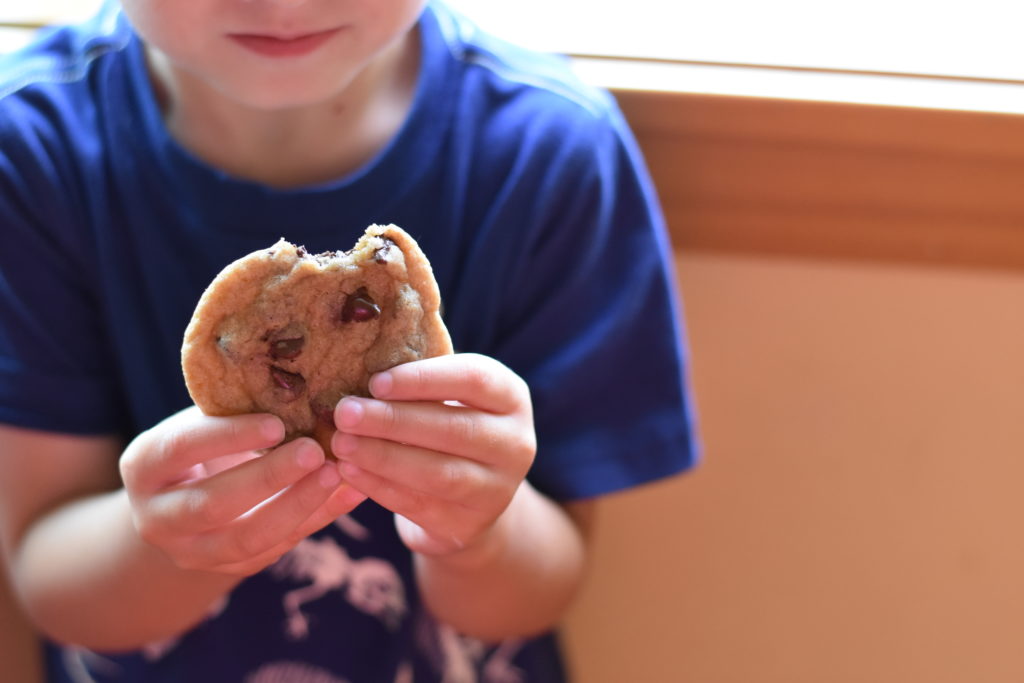
and EATING!
See the full recipe below – it’s printable! I hope you love it as much as we do. Happy baking!


Perfect Chocolate Chip Cookies OR Frozen Cookie Dough Balls
Ingredients
- 2 cups flour
- 1/2 tsp baking soda
- 1/2 tsp salt
- 3/4 cup unsalted butter, melted
- 1 cup packed brown sugar
- 1/2 cup white sugar
- 1 Tbsp vanilla
- 1 egg
- 1 egg yolk
- 1 1/2 cups semi-sweet chocolate chips
Instructions
-
Heat oven to 325F (if you're planning to bake the cookies now instead of freezing). Grease your cookie sheet.
-
Mix flour, soda and salt together.
-
Cream butter and sugars until well blended. Beat in vanilla, 1 egg and 1 egg yolk until light and fluffy.
-
Add dry ingredients (flour, soda and salt) and stir together until just blended. Stir in chocolate chips.
-
Roll into balls.
FREEZING
-
Place rolled dough balls on your greased cookie sheet into the freezer for 1 hour (or more). Pull it out and scrape them off with a spatula into a freezer ziploc. Return to the freezer where they can stay until you need them!
BAKING FROM FRESH
-
Place room temperature dough balls spaced 3 inches apart on greased cookie sheet. Bake at 325F for 15-17 minutes or until the edges are starting to brown. Cool on the sheet for a few minutes before transferring to a wire rack.
BAKING FROM FROZEN
-
Place frozen dough balls onto greased cookie sheet. Bake at 325F for 17-20 minutes or until the edges are starting to brown. Cool on the sheet for a few minutes before transferring to a wire rack.
Recipe Notes
Adapted from Best Big, Fat, Chewy Chocolate Chip Cookies on All Recipes