
Many of you enjoyed Jessica’s piece on why she gardens with her kids. Today she is back to share a simple tutorial for creating a fresh foraged holiday table arrangement. Thanks for your words and for sharing your creativity Jessica! – Bethany
This time of year is surely one of the most magical. The twinkle lights are lit up in every corner of the house, the stockings are hung, and the smells of gingerbread fill the kitchen. Every year we bring a live tree home from a nearby farm and its presence signals the start of the Christmas season. Christmas and fresh greenery go hand in hand. Bringing the beauty of the outdoors inside, is a lovely, and easy way to decorate for the season. I put together a simple arrangement that you (and your kids!) can easily pull together in a matter of minutes. It’s a perfect table centerpiece or give it away to a friend as an easy, heartfelt gift.
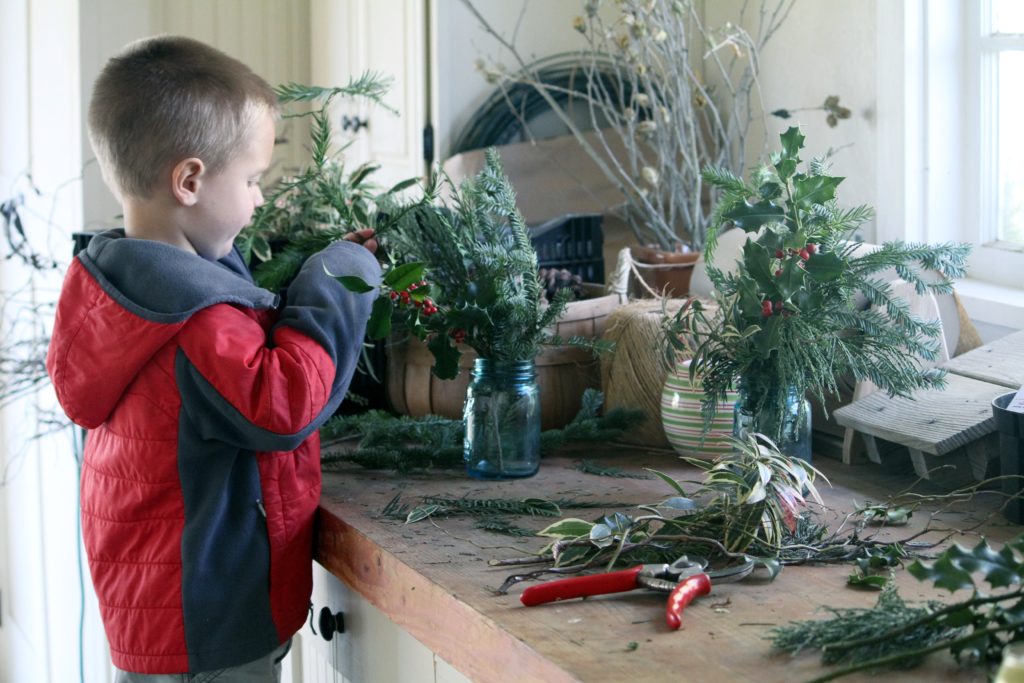
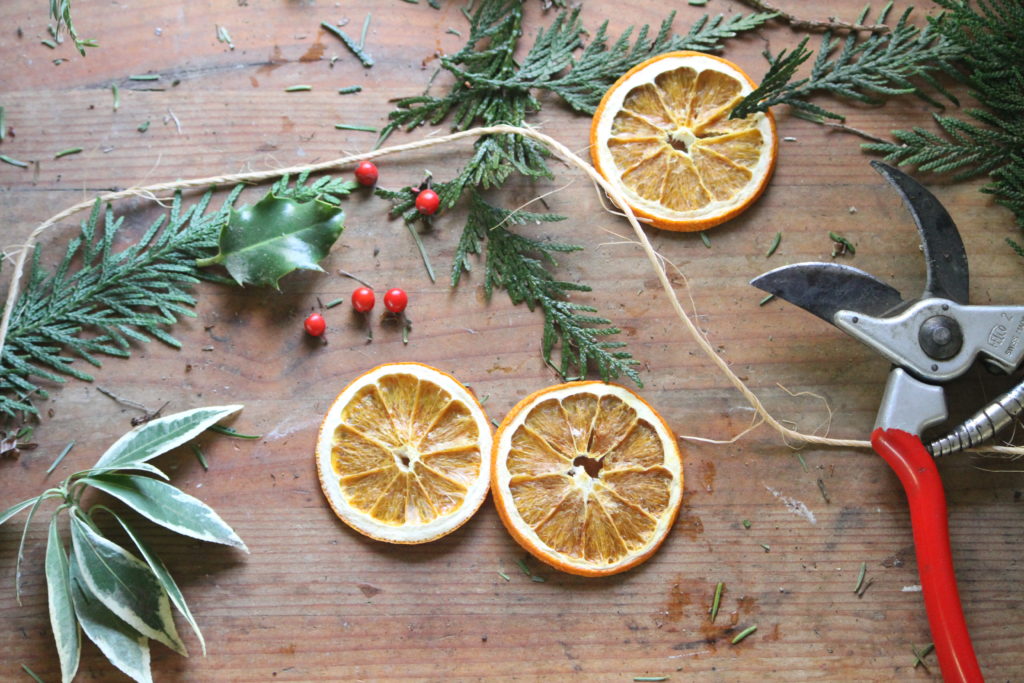
The first step is to gather your materials. Bundle up the kids and head outside to see what you can find! Forage around in your yard, a neighbor or friend’s yard, a nearby forest or even in the ditches along the road (that’s where I found my holly!) You’ll want to find a few various greens with different textures and shades of colors. You’ll also want to find a few elements that have contrasting colors and shapes.
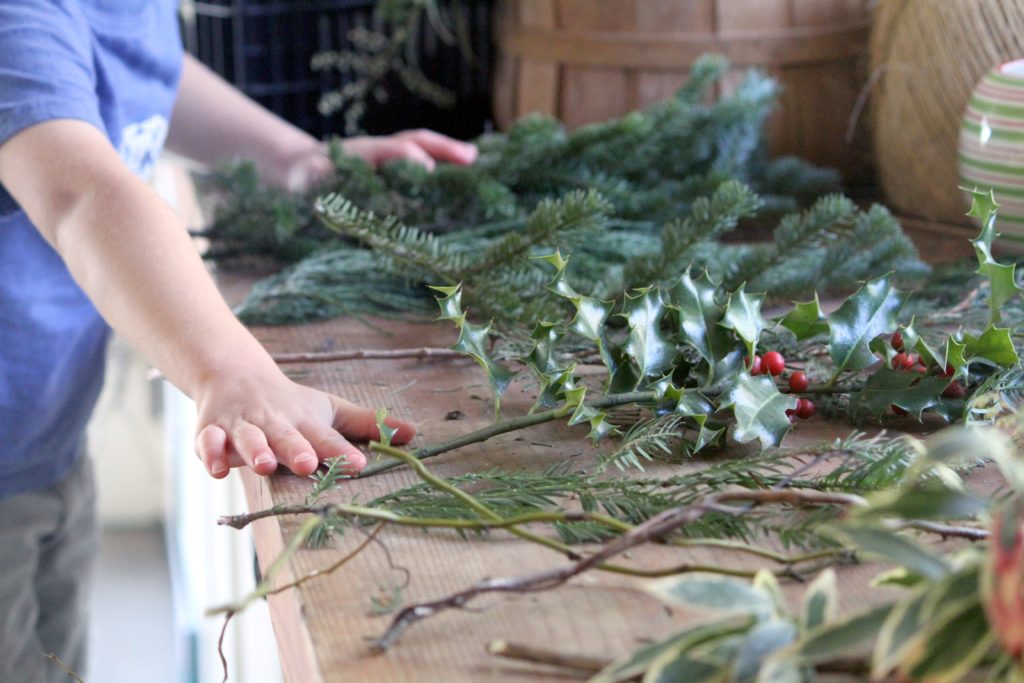
You will obviously come up with different materials to use in your arrangement and that’s great! The basic idea will be the same, you really can’t do this type of arrangement wrong. Use things you love or find interesting and then put them all together.
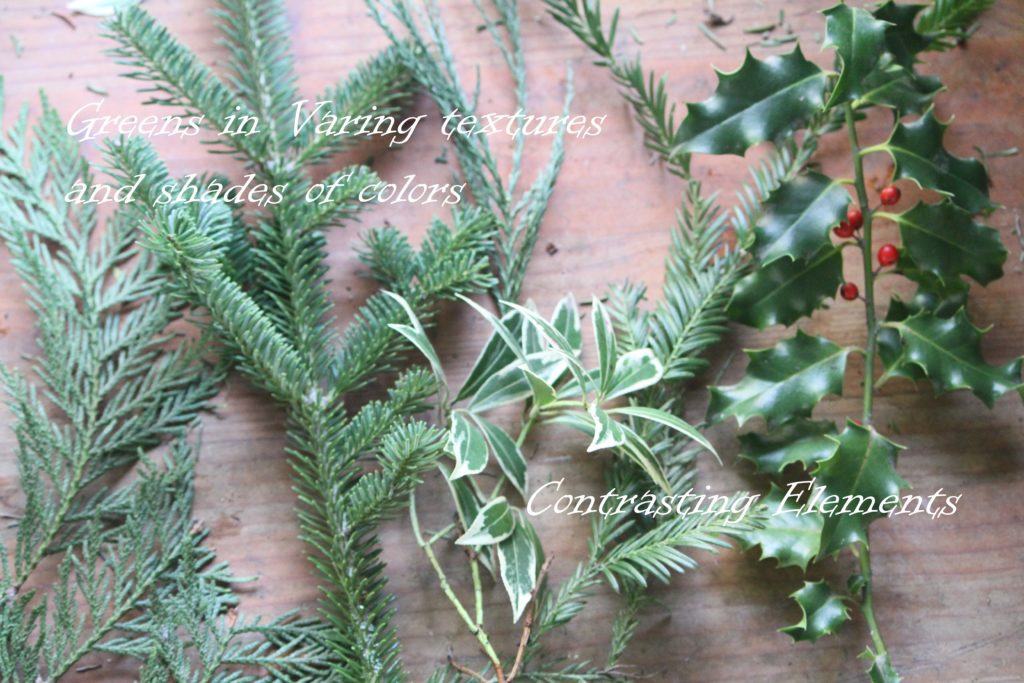
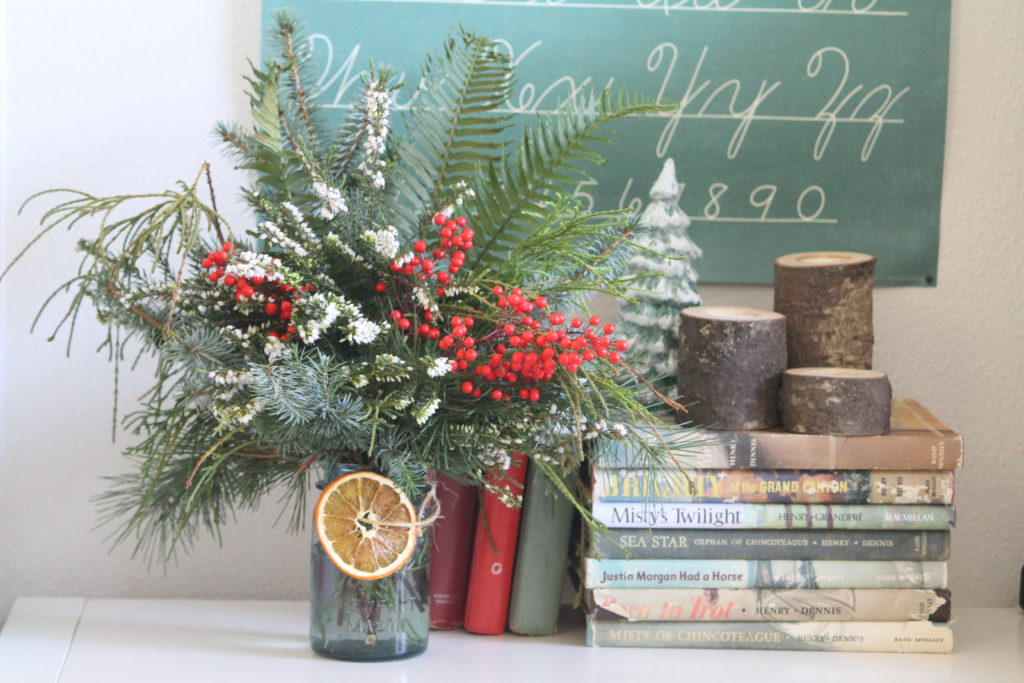
We found several different greens with different textures and structures to them. The cedar and the yew have long flat needles and a looser, more dropping structure. The balsam fir is more ridged with short needles (douglas or noble fir would also work great, fern is a unique and great choice as well). The sequoia has a blue-green color with extra-long spiky needles. Then I brought in some elements that have a little more interest and contrast to them. The white tips of the pieris and the red holly berries along with the shiny holly leaves give added contrast.
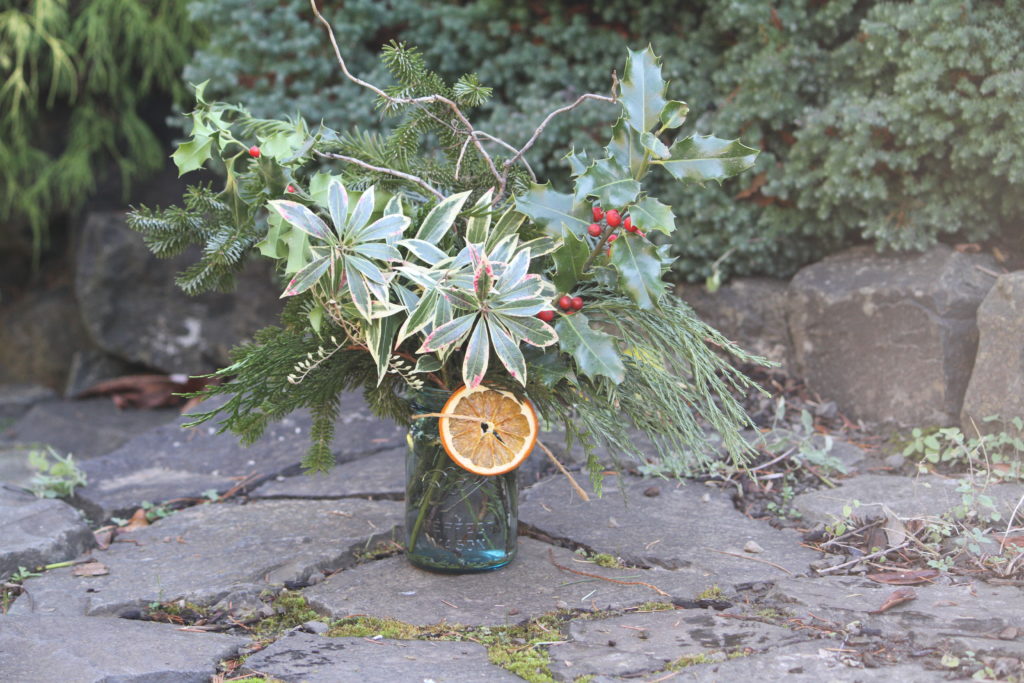
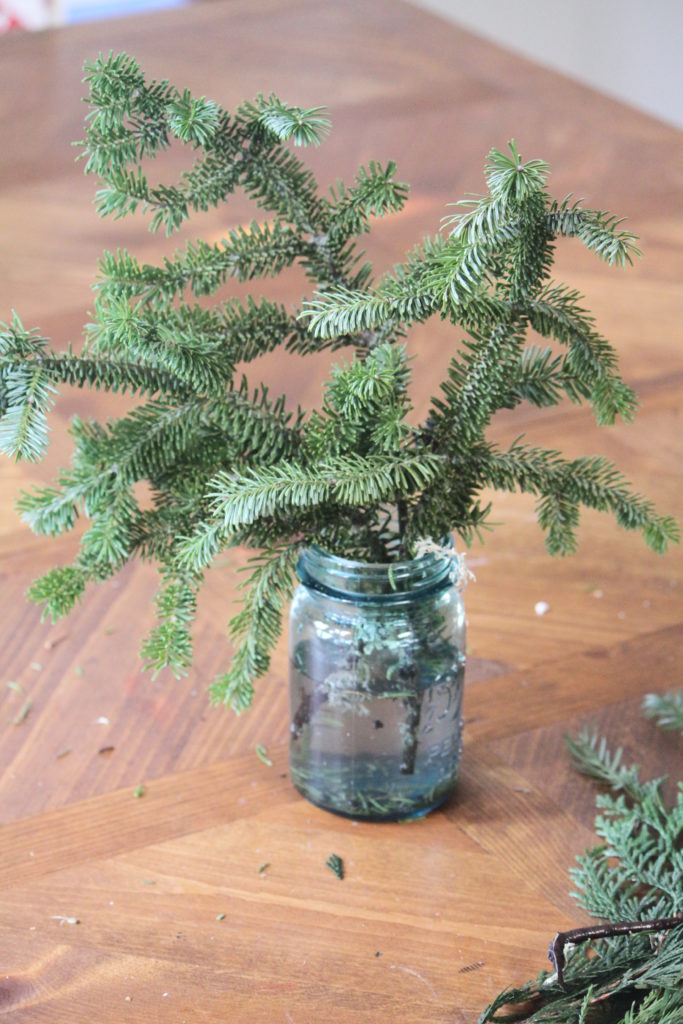
After you have all the greens, grab a vase, or a small mason jar works perfect. Start by adding in the tallest, most sturdy/rigid elements.
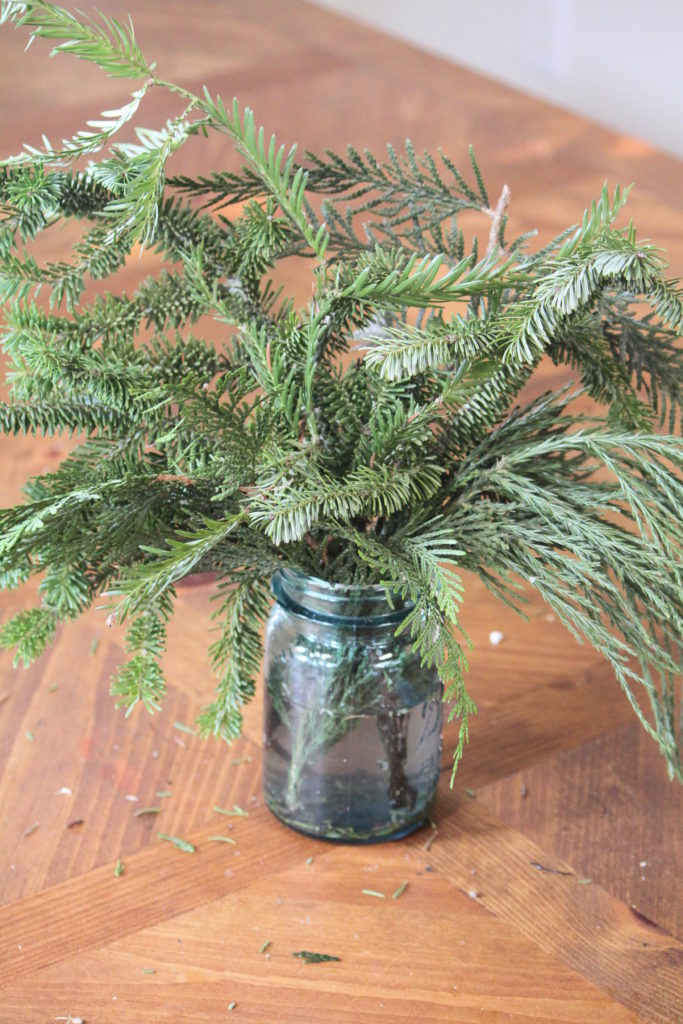
Next, add in the other greens you’ve collected. Let some hang loosely to the side; here I tucked my cedar on the left of the vase and let the sequioa hang over the right side. The yew stands up in the middle. Sometimes greenery can be a little tricky to get just right, keep fiddling with it, trimming it and moving it around until you get the look you like.
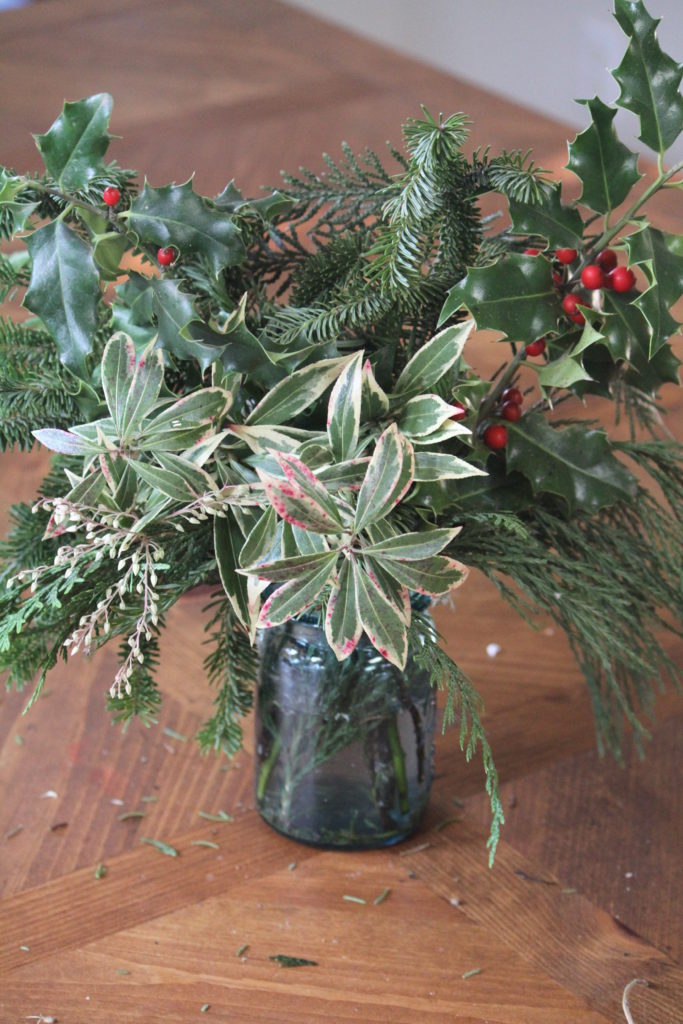
Then add the contrasting elements. Here I used a couple sprigs of holly that stand up in the middle of the arrangement, one leans to the right and the other leans to the left a bit, and my pieris is tucked into the front.
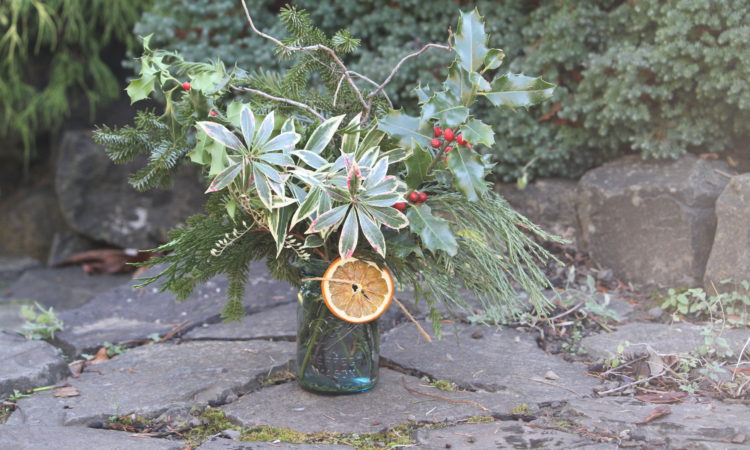
As one more extra detail (and a fun side project) we sliced some orange slices extra thin and dried them in a dehydrator overnight. When they were nice and dry, we threaded some twine through them and tied it around the neck of the jar.
A couple curly willow sticks give a little more whimsy and add more interest to the arrangement.

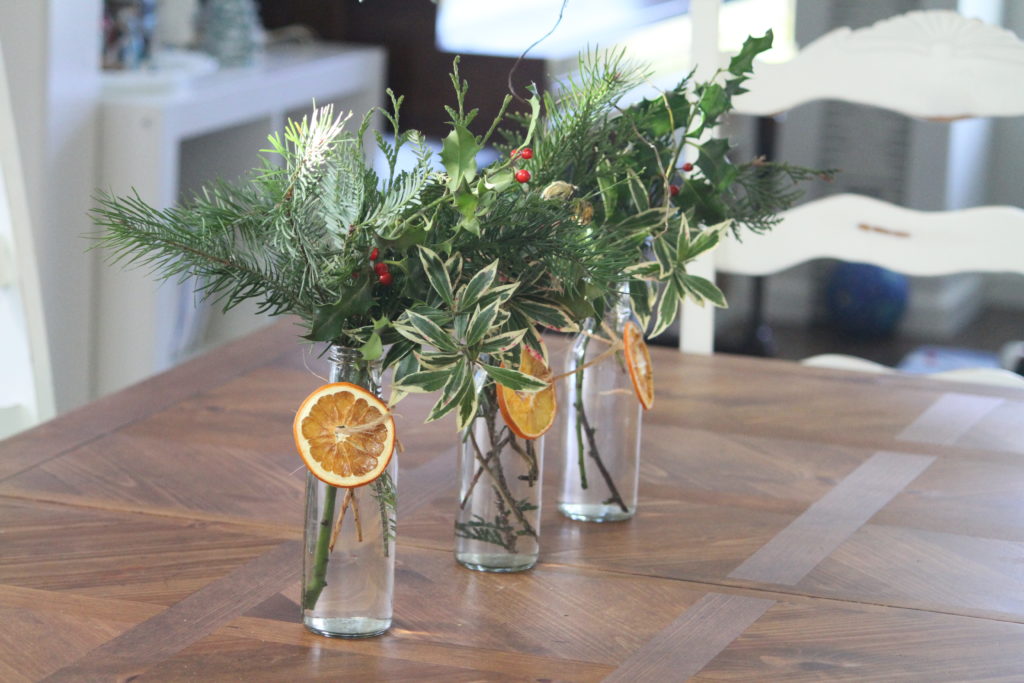
For an even easier table arrangement, fill a few bottles with greens and line them up. Follow the same steps as above, just using only one or two greens, and a couple contrasting colors.
I hope you’ll give this a try! There is really something special about fresh greens in the house at Christmas time, and it’s such a fun and easy way to bring the beauty of the outdoors inside.
~Jessica Smith~
Check out her instagram feed & facebook page – and if you are in Oregon, sign up for her newsletter so you can enjoy her flowers, wreaths and arrangements!
INSTAGRAM: @thelittlefarmwagon
FACEBOOK: @thelittlefarmwagon