
I was lucky enough to grow up eating homemade freezer jam. I learned how to do this from my mom and I absolutely LOVE the taste of homemade blackberry freezer jam! My #1 favorite is raspberry, and this blackberry version comes in a close second. I think part of the reason I love freezer jam is because the berries are preserved fresh, without being cooked – they taste so fresh and full of flavor.
Making jam can be intimidating. I love making the freezer form because it doesn’t require true “canning” equipment and skills. You can freeze the jam in tupperwares (or any lidded freezer safe container) if you want to! And the process is really quite simple. Today I’ll share a more detailed step-by-step guide on how to make blackberry freezer jam. If you want to go straight to the printable step-by-step without scrolling down to see all the pictures, click here: Jump to Recipe
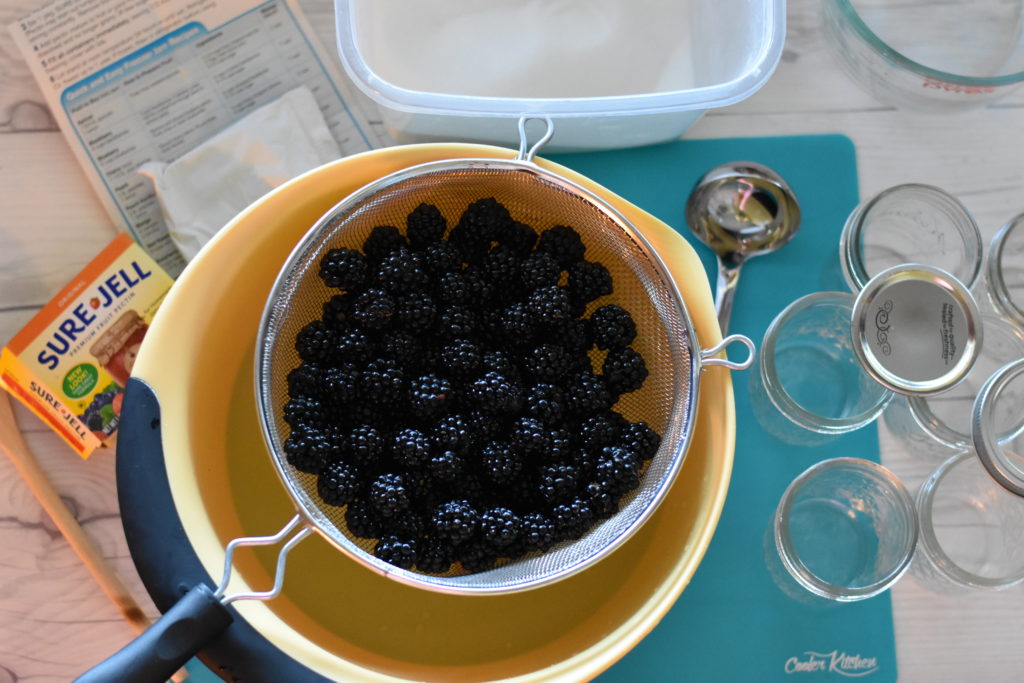 My #1 piece of advice is to FOLLOW THE DIRECTIONS EXACTLY. Precision is important when you make a jam – this isn’t something you want to mess around and experiment with. Unless of course you’re interested in making a soupy syrup instead of a set up jam. My favorite pectin is Sure Jell (in the yellow box), so I’ll show you the step-by-step method that is done with this particular pectin. If you are using another brand, follow their directions exactly!
 Making blackberry freezer jam is a great idea if you live in the PNW. If you’re like us you have wild blackberry bushes growing crazy all along your neighborhood roads and in between homes. It is actually not a native plant which is why it grows out of control. But I don’t really mind because these blackberries are FREE and delicious! Growing up I would pick and eat them on the way home from the bus stop every September. Mmm fresh blackberries off the bush… it doesn’t get better than that! The only negative about making jam from blackberries is the seeds. We chose to strain out the seeds for the most part so the results would be more smooth and less fibrous.
TODDLER TASKS
There are many easy ways your toddler or young child can help you make blackberry freezer jam! Consider having him or her help you by:
- Picking blackberries
- Play with the lids and jars (before you clean them) for a little learning moment/fine motor practice
- Mashing and straining the blackberries
- Dumping in the sugar
- Stirring the sugar into the blackberries
- Eating the jam!
#1: PREPARE CONTAINERS


This was a fun little impromptu activity. My 2 year old enjoyed stacking the rings and seals and putting them on the jars. You don’t have to use mason jars to contain your jam but I love the look of them, and like to use them as gifts, so that’s what I chose to do. Use any freezer safe container. You need to make sure your containers are freshly washed and sanitized. I’d recommend throwing them all in the dishwasher (including the lids) before you make the blackberry freezer jam. Pull them out and they are ready to go.
#2: PREPARE BLACKBERRIES
You want to wash your berries well and drain all the water off. Now you are ready for the next step which is…
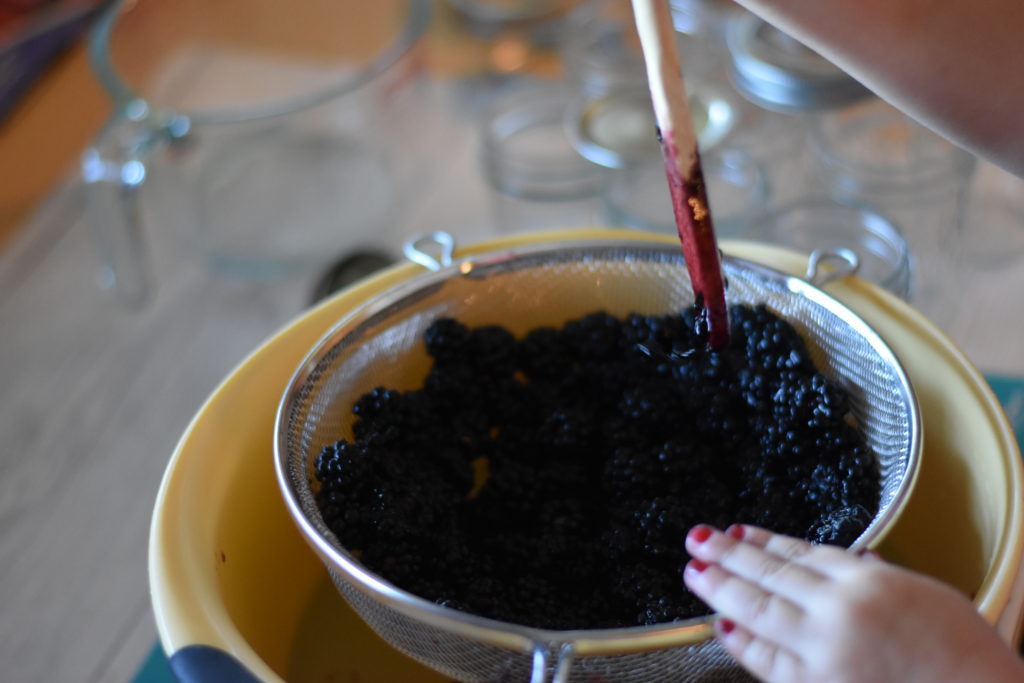
#3: STRAIN SEEDS
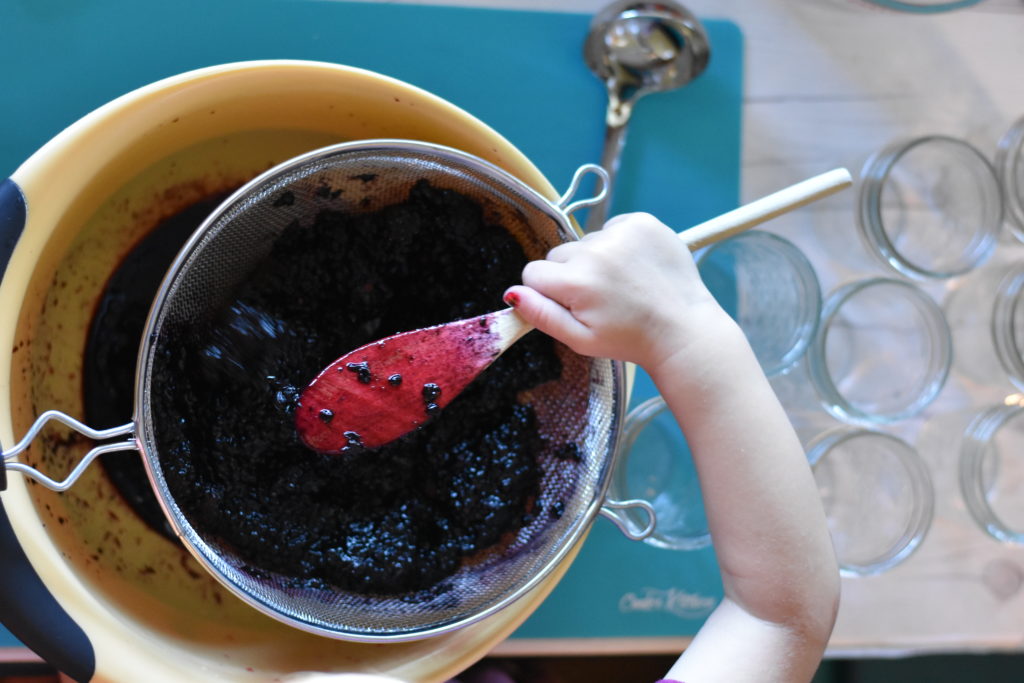 To improve the texture of the jam and make it less seedy, take a strainer and put the berries into it. Using a wooden spoon, mash the berries completely until they are a paste, with a bowl underneath to catch the puree. Keep smashing and mashing against the strainer for a while. You’ll be left with the seeds and the underneath will be a seedless blackberry puree.
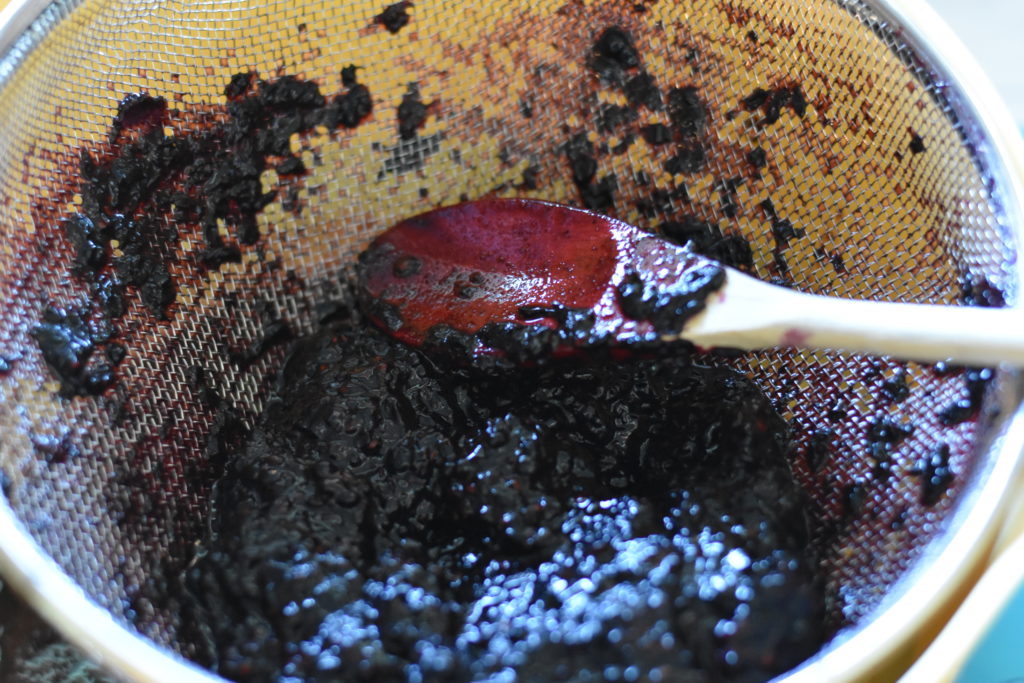 Also be sure to periodically scrape the underside of the strainer to get the good stuff that is stuck on it.
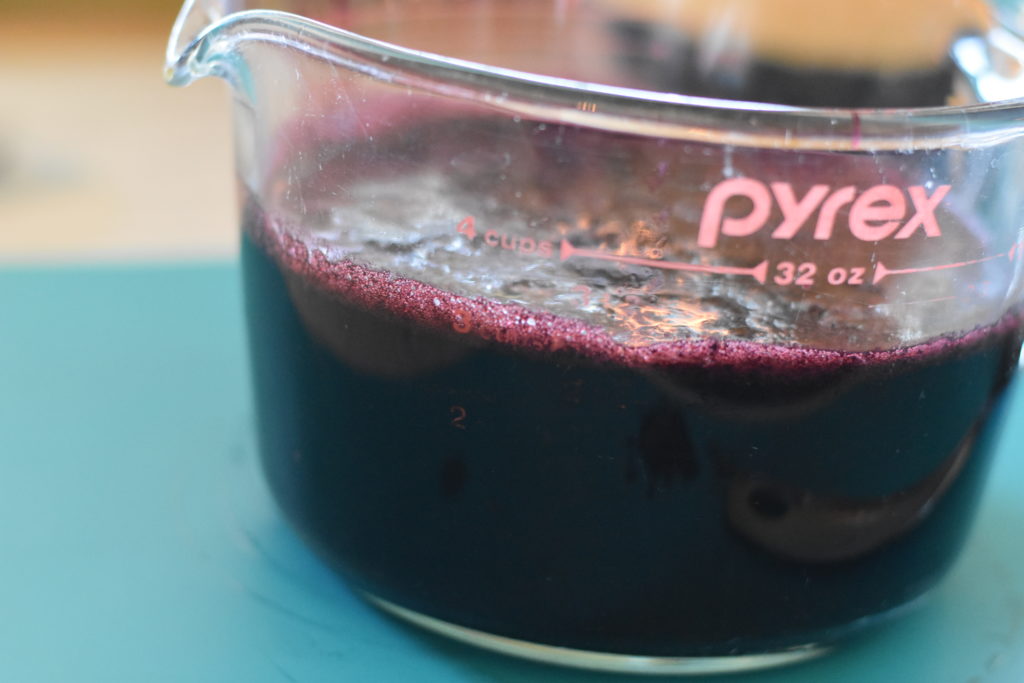
#4: MEASURE MASHED BERRIES
This is where the measuring comes in. You want to make sure you have exactly 3 cups of mashed up/strained blackberry puree. You want to measure this in a liquid measuring cup like a Pyrex. Put the pyrex on the counter and get down at eye level to see that you have 3 cups. For my recipe I did about 2 cups of strained berries and 1 cup of straight mashed blackberries. So there will be some seeds but it won’t be as thick.
#5: MEASURE SUGAR
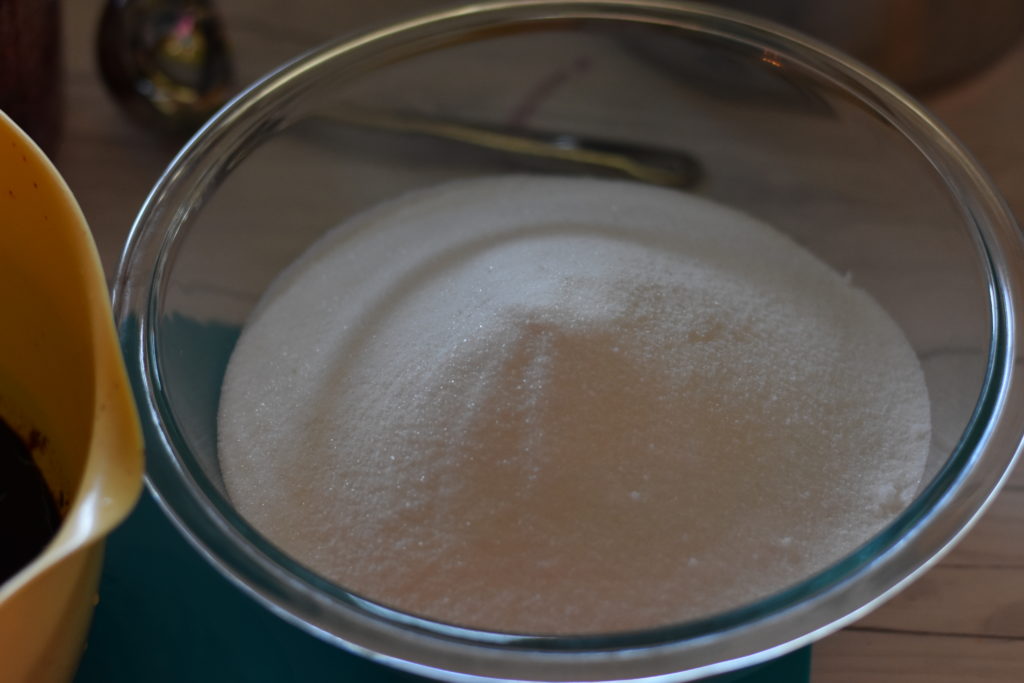 This recipe calls for 5 1/4 cups of granulated sugar. Yes that’s more sugar than berry! That’s why jam is so delicious… don’t skimp on the sugar. If you want a version with less sugar, get the pink box of Sure-Jell and follow their directions exactly. It won’t taste the same though… just a warning! I like to measure my sugar into a separate bowl so I make sure I have exactly 5 1/4 cups.
#6: MIX SUGAR AND MASHED BLACKBERRIES
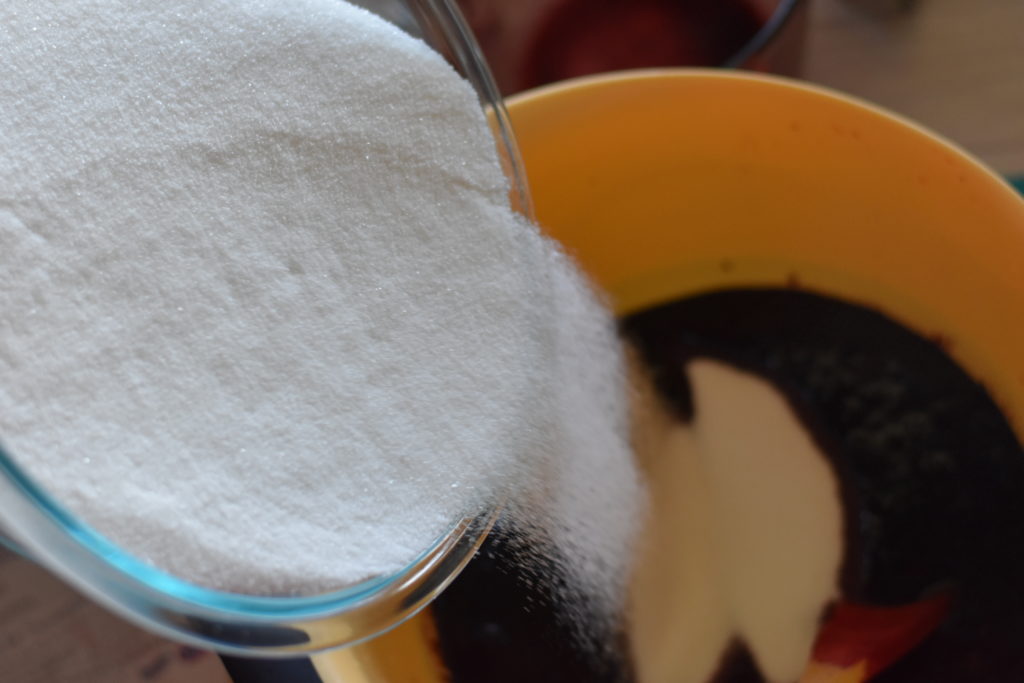 Dump all that pre measured sugar into a large bowl with the pre-measured mashed blackberries. And then stir! It will sit for 10 minutes until the next step. Come back and stir it periodically during that time. I like to set a kitchen timer for 10 minutes so I know when I can move on.
#7: BOIL PECTIN
 Now you get out a little saucepan and dump the contents of the pectin into it. Stir in 3/4 cup of water. Now you turn on your stove top to high heat and stir this little mixture constantly as it reaches a boil. Once it is boiling and bubbly, allow it to boil while stirring constantly for exactly 1 minute.
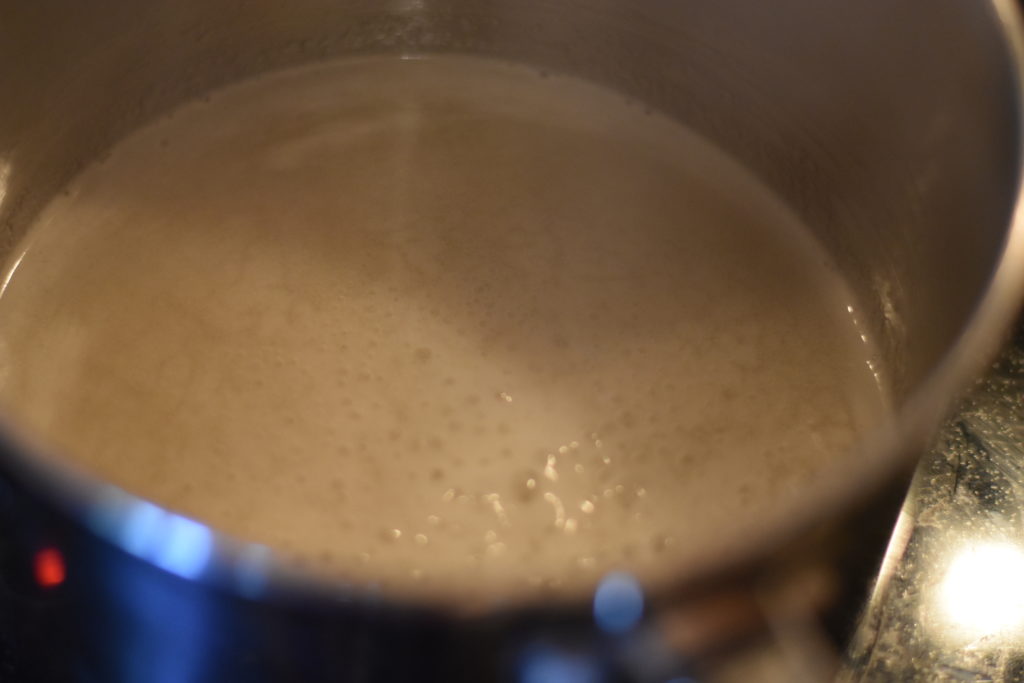 Here it is boiling… go for a minute! Stirring constantly!
#8: ADD PECTIN TO THE BERRY/SUGAR MIXTURE
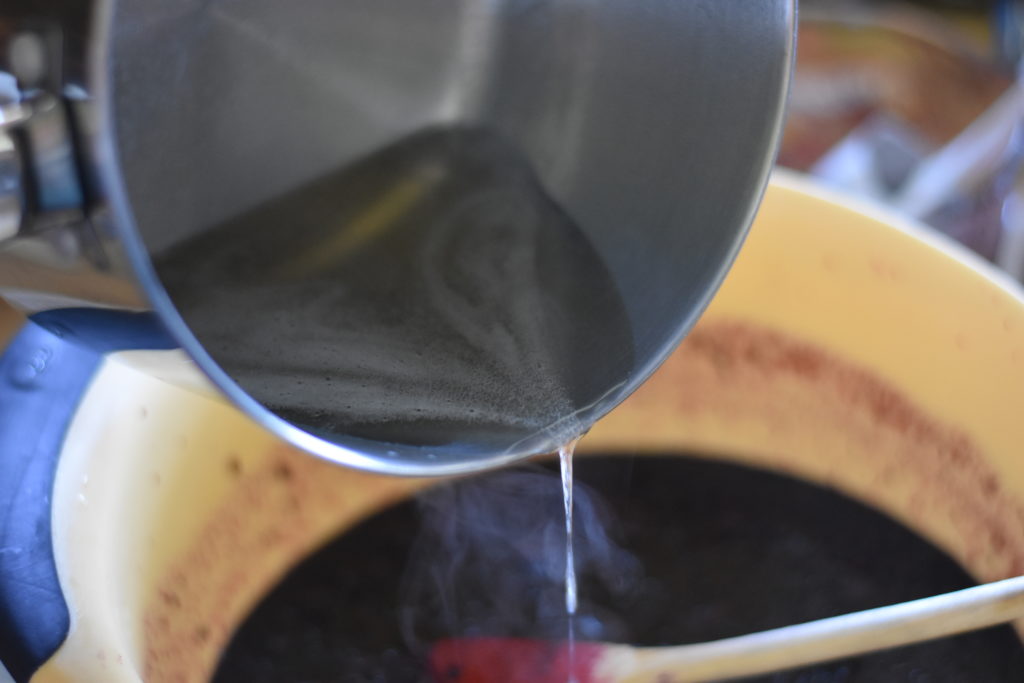
Bring your saucepan which has probably turned clear while boiling, over to the large bowl full of sugar and berries. You will pour this in and stir constantly for about 3 minutes or until all the sugar granules have dissolved. You can stick your finger in and taste to see if it still has little sugar crystals in there. Usually toward the end of 3 minutes my jam will start to congeal which is a great sign it’s going to set up! If it’s starting to thicken you are done stirring. Ready to pour into containers!
#9: LADLE


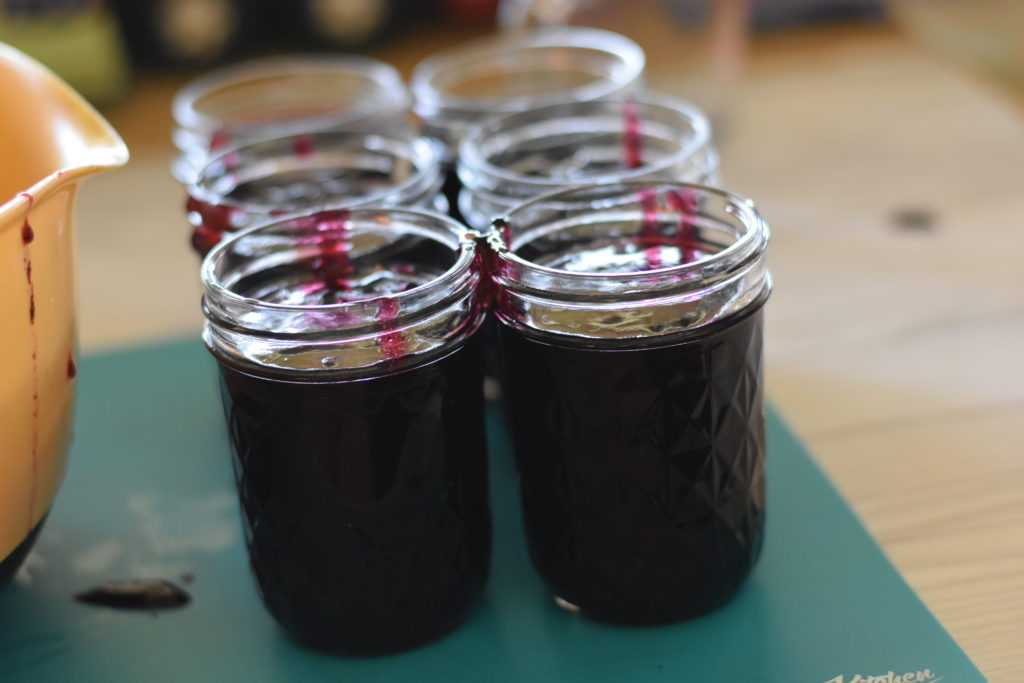
Carefully ladle your jam into the prepared containers! If you have a funnel that would be a smart way to go, or you can scoop a bunch of jam into a container like a pyrex that has a pouring spout. Leave a half an inch space at the top of the jar – it expands a little when frozen.
#10: WIPE UP SPILLS
I always end up dripping a little bit. Take a wet paper towel and run it around the edges and top of the container to get rid of the sticky spill spots.
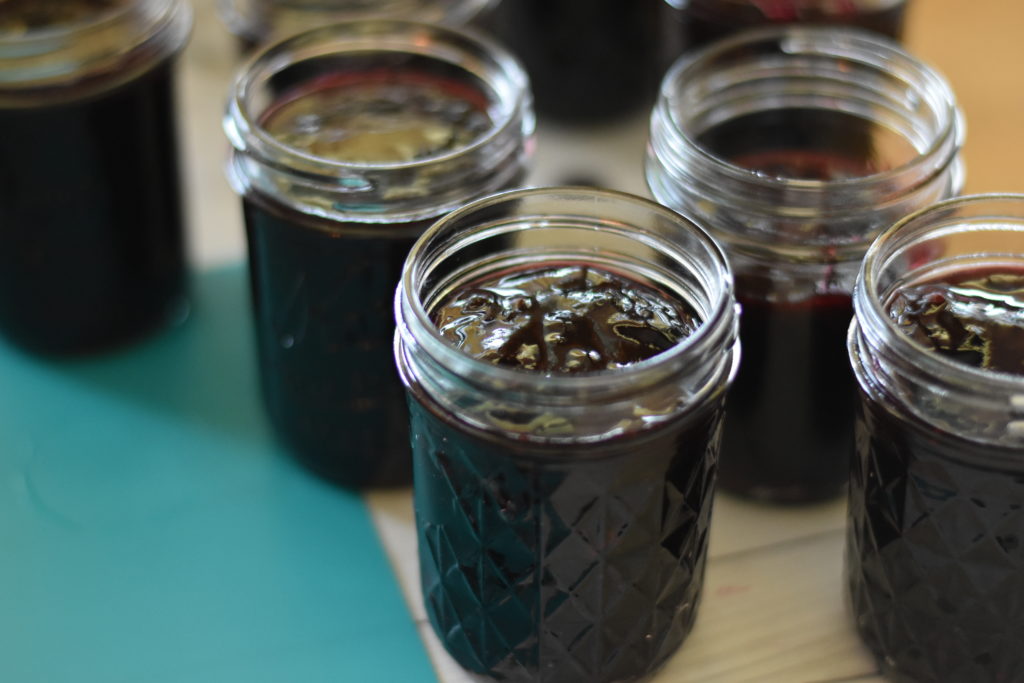
#11: LIDS AND LEAVE FOR 24 HOURS
Now you put the lids on and leave them on the counter for 24 hours. Don’t disturb them, this is the time for them to get good and set up.
#12: FREEZE
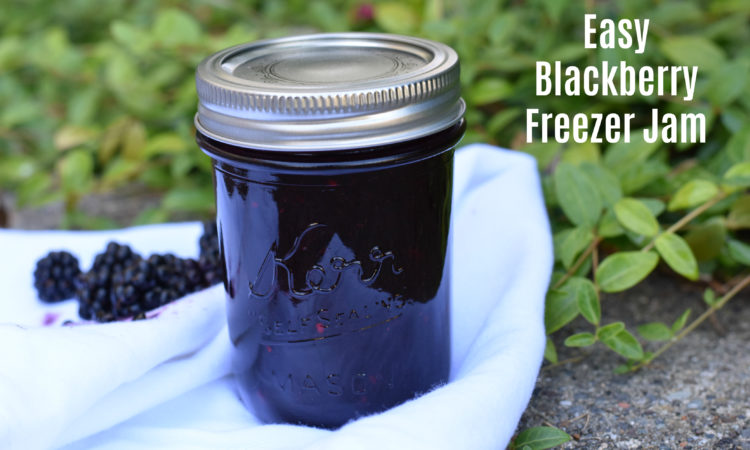
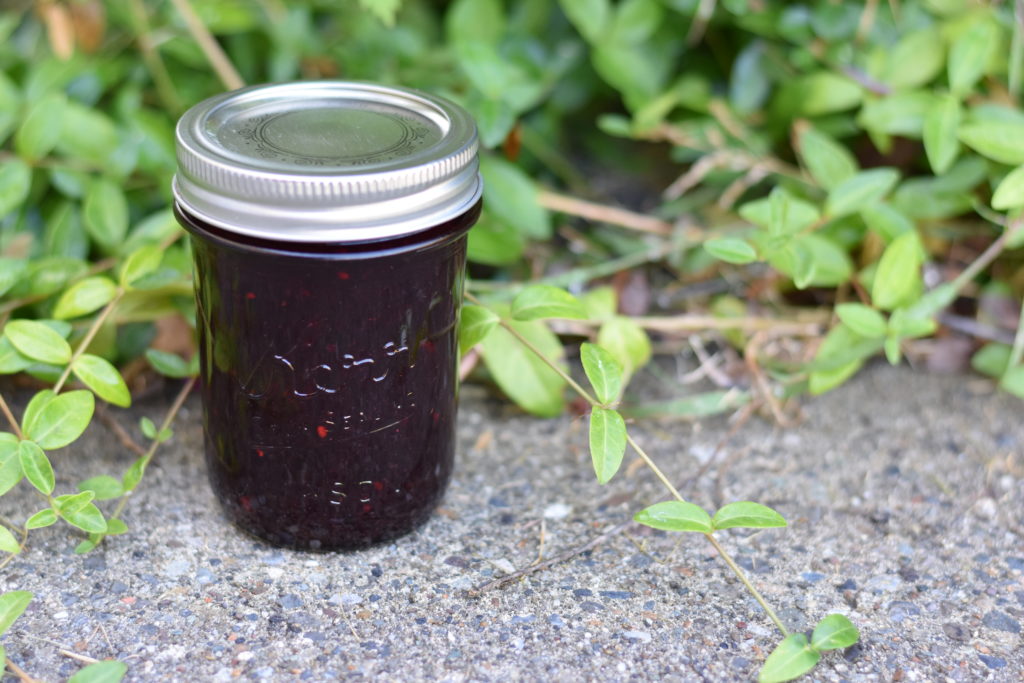
24 hours later you are ready to put your jam into the freezer! Or you can put one jar into the fridge to start using immediately. It will last for 1 year in the freezer, or 3 weeks in the fridge. This is delicious on waffles, toast, crepes, pancakes, sandwiches… you name it!
Did you try making blackberry freezer jam this year? How’d it go? I’d love to hear about your experiences in the comments!


Blackberry Freezer Jam
Ingredients
- 1 box original SureJell pectin
- about 6 cups ripe blackberries (exactly 3 cups mashed/strained)
- 5 1/4 cups granulated sugar
- 3/4 cups water
Instructions
-
Clean and sanitize containers.
-
Strain rinsed, ripe blackberries over a large bowl by mashing with a wooden spoon against the strainer.
-
Measure exactly 3 cups of mashed and/or strained blackberries into a large bowl.
-
Measure exactly 5 1/4 cups sugar (do not reduce sugar or use a substitute - it won't set up)
-
Mix pre-measured sugar into the large bowl with the mashed berries.
-
Let sugar and berries stand for 10 minutes, stirring occasionally.
-
Stir 1 package Sure Jell pectin and 3/4 cup water in a small saucepan. Bring to a boil on high heat, stirring constantly. Boil 1 minute, stirring constantly. Remove from heat.
-
Add pectin mixture to blackberry/sugar mixture. Stir for 3 minutes or until sugar is dissolved and no longer grainy.
-
Fill containers immediately, leaving 1/2 inch space at the top for expansion. Wipe up any spills around the top of the containers. Cover with lids.
-
Let stand at room temperature 24 hours. Refrigerate up to 3 weeks or freeze for up to a year. If frozen, thaw in fridge before using.
Recipe Notes
Recipe adapted from SureJell Pectin insert